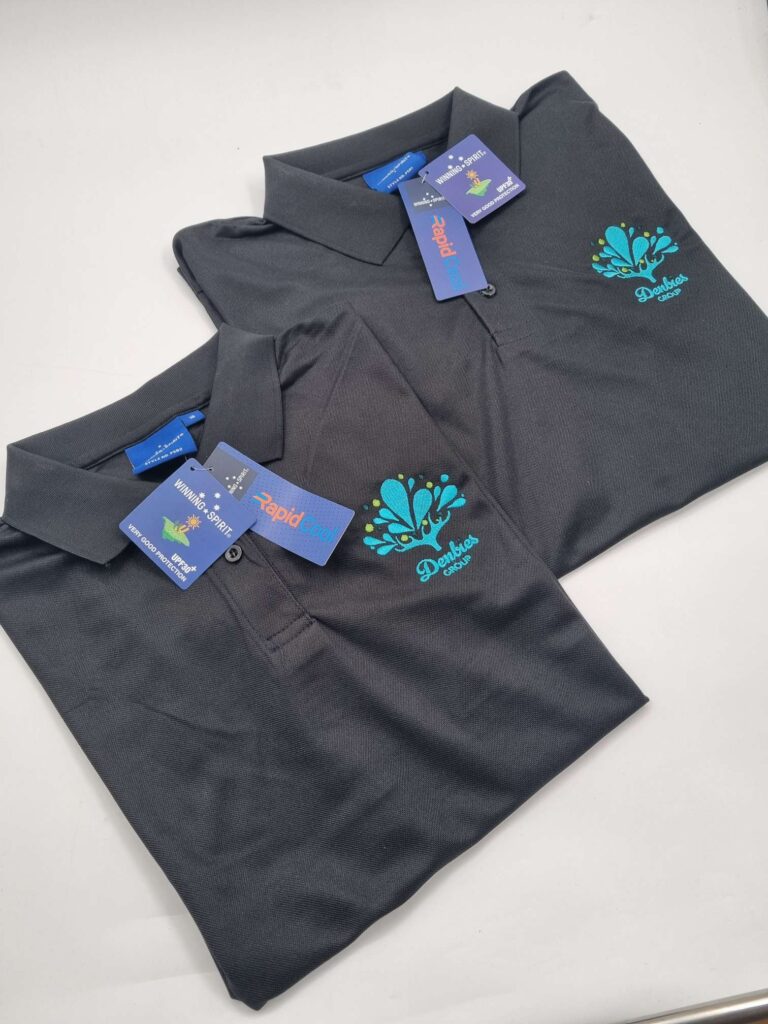
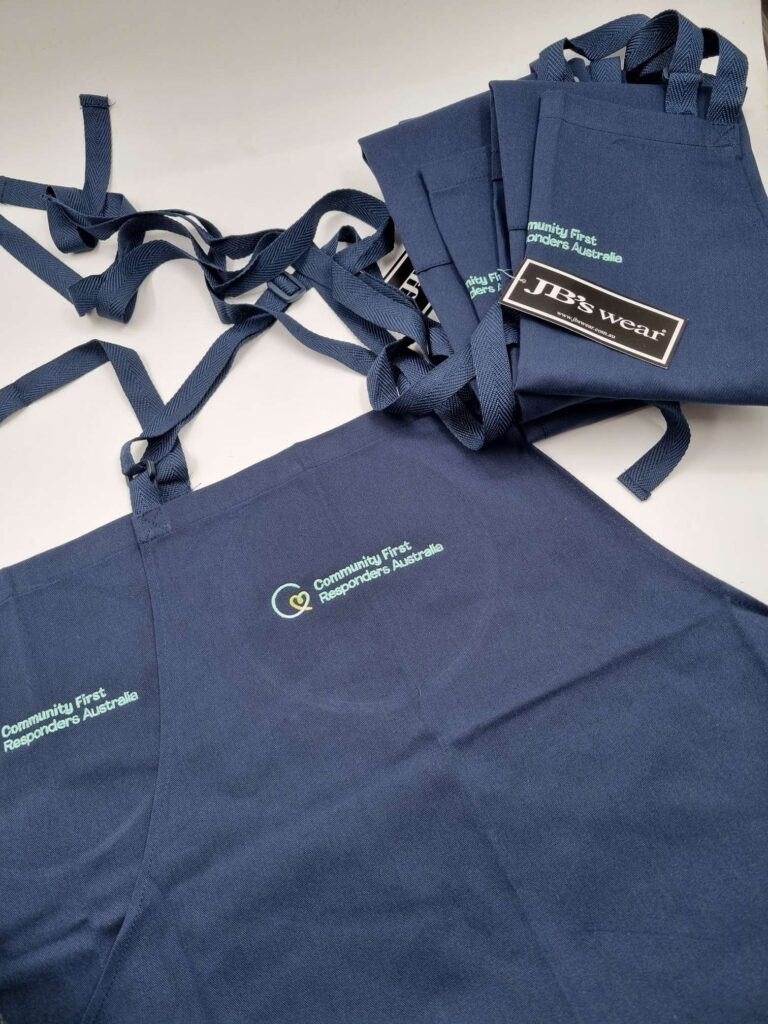
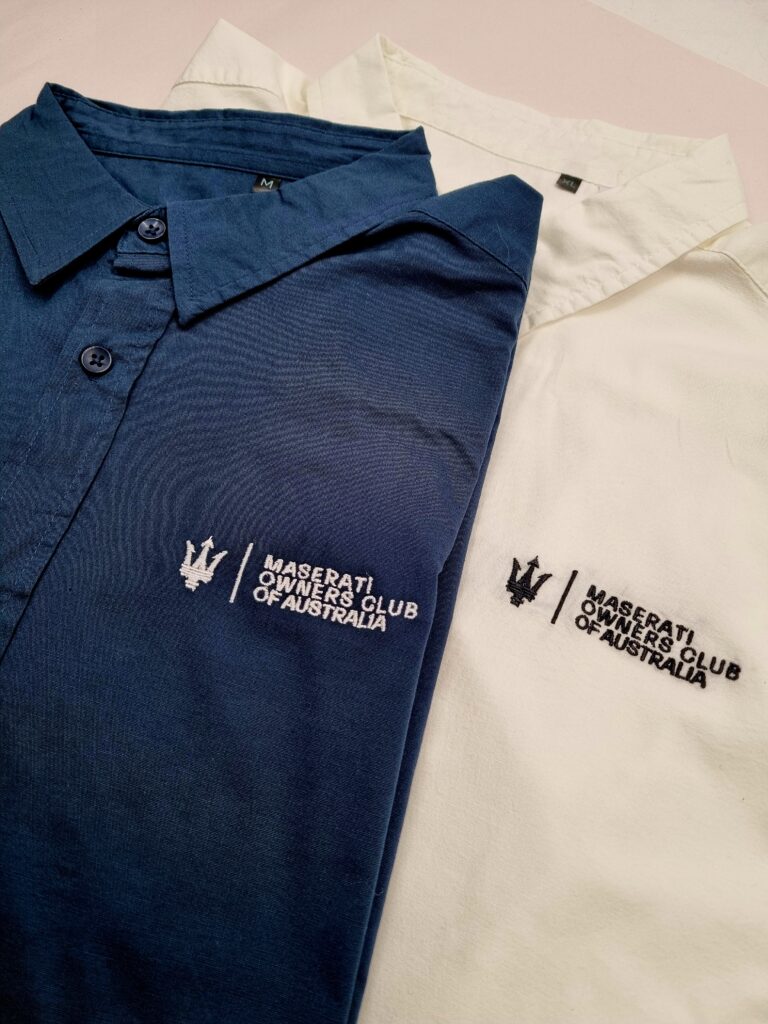
Embroidered uniforms are a fantastic way to make your brand stand out, offering a polished and professional appearance. Whether it’s embroidered cardigans for your corporate team or embroidered chefs jackets for kitchen staff, embroidery adds a high-quality, durable finish to your uniforms. In this guide, we’ll walk you through the basics of how to embroider your uniforms, so you can elevate your team’s look with a personal touch!

Why Choose Embroidered Uniforms?
Before we dive into the how-to, let’s quickly highlight why embroidery is such a popular choice for branded uniforms:
- Professional look: Embroidery adds a classy, upscale touch to uniforms, whether it’s custom branded corporate dresses or custom embroidered shirts.
- Durability: Unlike screen printing, embroidery stands up to regular wear and washing, making it ideal for work environments.
- Versatility: You can embroider nearly any fabric, from custom puffer jackets to custom branded vests.
- Customisation: It’s perfect for adding logos, names, and other unique branding elements.
Now, let’s get started on the embroidery process!
Step 1: Choose Your Uniform and Design
First, select the uniforms you want to embroider. This could range from branded work pants and corporate knitwear to custom branded scrubs and promotional hi-vis vests. Ensure that the fabric is suitable for embroidery—heavier fabrics like cotton, polyester, and fleece tend to work best.
Once you’ve chosen the uniforms, decide on the design. Typically, this will be your company logo, but you can also add employee names, department titles, or other branding elements. Your design should be simple and easy to read, especially if you’re working with smaller logos or text.
Pro Tip:
For the best results, opt for designs with fewer colours and avoid intricate details. Embroidery looks cleanest with bold, solid shapes and clear fonts.
Step 2: Gather Your Materials
You’ll need the following tools and materials to get started:
- Embroidery machine: A high-quality machine with multiple thread options.
- Embroidery thread: Polyester thread is recommended for uniforms because it’s strong, colourfast, and durable.
- Stabiliser: This is placed behind the fabric to prevent it from stretching or puckering during embroidery.
- Embroidery hoop: Keeps the fabric taut while you’re stitching.
- Design software: If you’re creating a custom logo, use software to digitise your design for the embroidery machine.
Step 3: Prepare Your Design
Now it’s time to digitise your design. This process converts your logo or graphic into a format that the embroidery machine can understand. Using embroidery software, upload your logo, and ensure the sizing is correct for the area where it will be stitched (e.g., chest, back, sleeve).
If you don’t have access to professional embroidery software, there are many online services that can do this for you.
Step 4: Set Up the Machine
Load your design into the embroidery machine and select your thread colours. For corporate branded scarves, you might want to match the thread to your brand’s colours. Secure the fabric in the embroidery hoop, making sure it’s smooth and wrinkle-free. Then, attach the hoop to the embroidery machine.
Pro Tip:
Always do a test run on a spare piece of fabric before embroidering the actual uniform. This ensures the sizing and colours are just right.
Step 5: Start Embroidering
Once everything is in place, it’s time to start stitching! The machine will follow the programmed design, so you don’t need to worry about manually guiding the fabric. However, it’s a good idea to keep an eye on the process in case of thread breaks or tension issues.

Common Issues to Watch For:
- Puckering fabric: This happens when the stabiliser isn’t strong enough or the fabric isn’t stretched tightly in the hoop.
- Thread breaks: This can be caused by using the wrong type of thread or improper tension.
Step 6: Finishing Touches
Once the embroidery is complete, remove the hoop and gently cut away any excess stabiliser from the back of the design. Press the embroidered area with a warm iron to smooth out any wrinkles, but be careful not to apply too much heat directly to the stitches.
Step 7: Quality Check
Before you roll out your newly embroidered uniforms, take a moment to inspect each piece. Look for uneven stitching, loose threads, or colours that don’t align with your brand’s specifications. This is your final chance to make adjustments before putting your uniforms into use.

Step 8: Care Instructions
Provide your team with care instructions to ensure the longevity of their embroidered uniforms. General tips include:
- Wash in cold water with mild detergent.
- Turn garments inside out before washing.
- Avoid bleach or harsh chemicals.
- Air-dry or use a low heat setting in the dryer.
Final Thoughts
Of course, you don’t have to do any of that. That is what we are here for!
Embroidered uniforms are a great way to build brand recognition while ensuring your team looks sharp and professional. Whether you’re creating custom branded corporate skirts, embroidered chef jackets, or branded medical scrub tops, following these steps will ensure your embroidery is top-notch and long-lasting.
For more great ideas on branded promotional apparel, check out Fast Clothing’s wide range of options! With everything from custom printed aprons to promotional fleecys, we’ve got all your branding needs covered.


