Cold mornings, after-dark finishes and on-again, off-again rain mean winter workwear and uniforms need to be warm, practical and still look on brand. This guide walks you through a simple layering system for teams, which branding methods work best on each garment, and a straightforward order flow so production runs smoothly.
The winter layering game plan
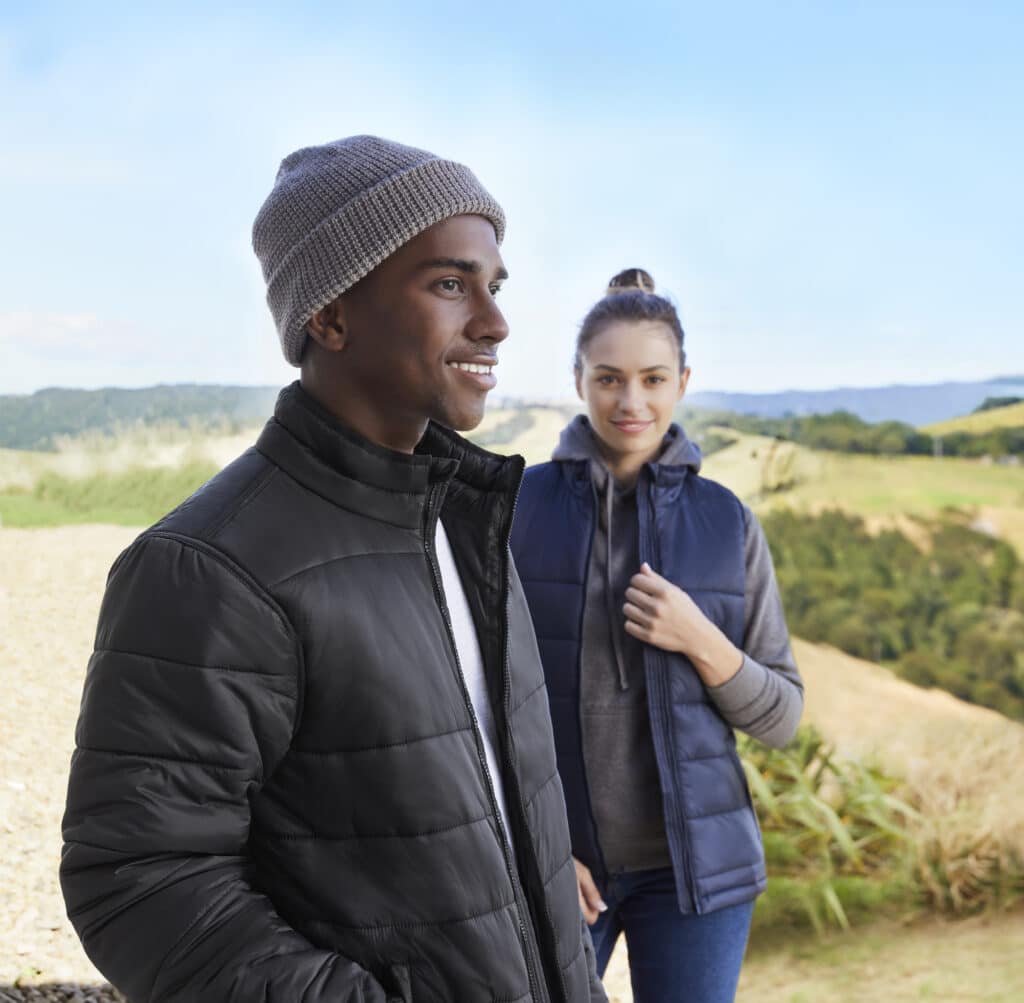
Think in three layers. Staff can add or remove pieces as the day warms up, while your logo stays consistent across the set.
1) Base layer: comfort first
Choose breathable tees or polos that sit next to the skin. For most teams, printed polo shirts hit the sweet spot between comfort and polish. Cotton-rich blends feel soft, while performance knits manage moisture on busy shifts. Keep artwork above 6–7 pt and aim for high contrast so logos read clearly in low light.
2) Mid layer: warmth + consistency
Jumpers, hoodies and zip-through fleeces are the winter workhorses. If your art has fine lines or gradients, a transfer such as DTF (see our Powerprint guide) will hold detail better than embroidery on fluffy fabric. For simple logos, embroidery gives a premium, durable look with minimal shine.
3) Outer layer: weather + visibility
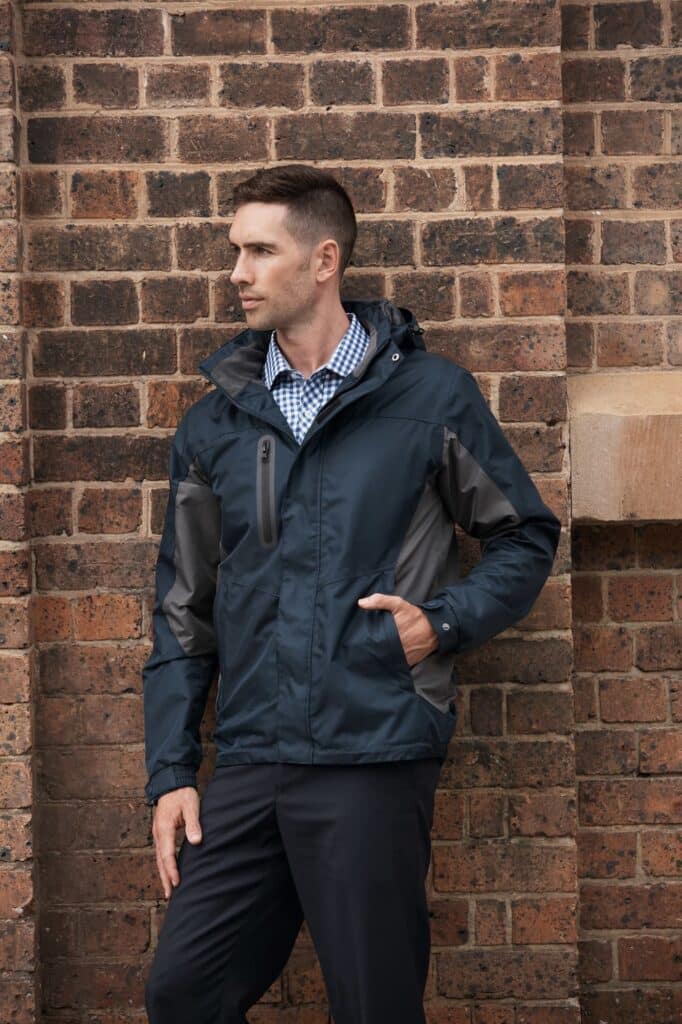
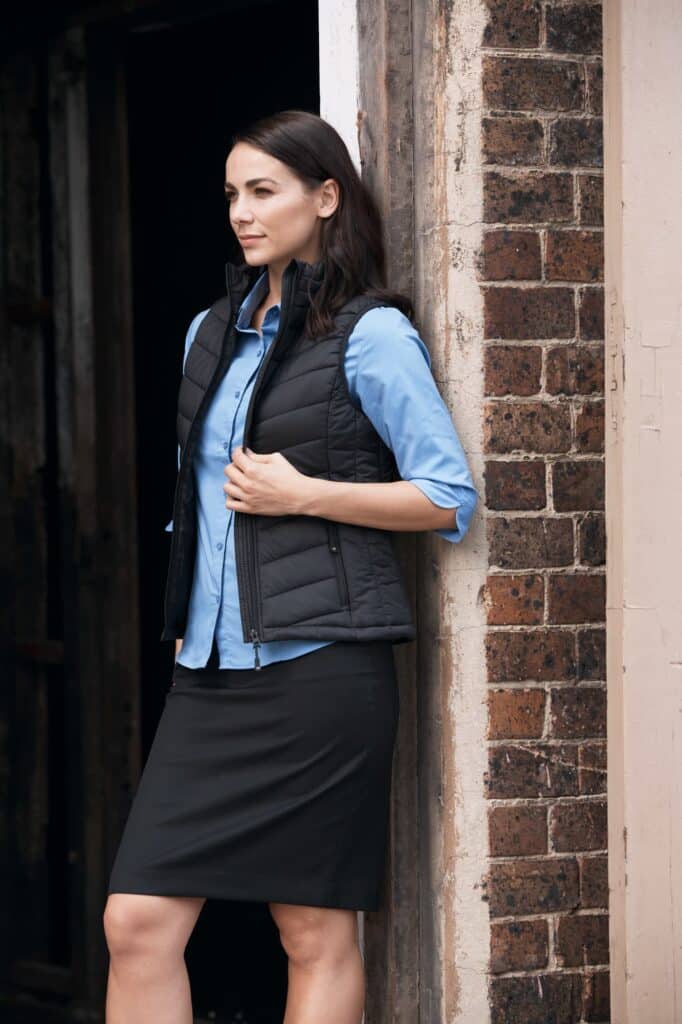
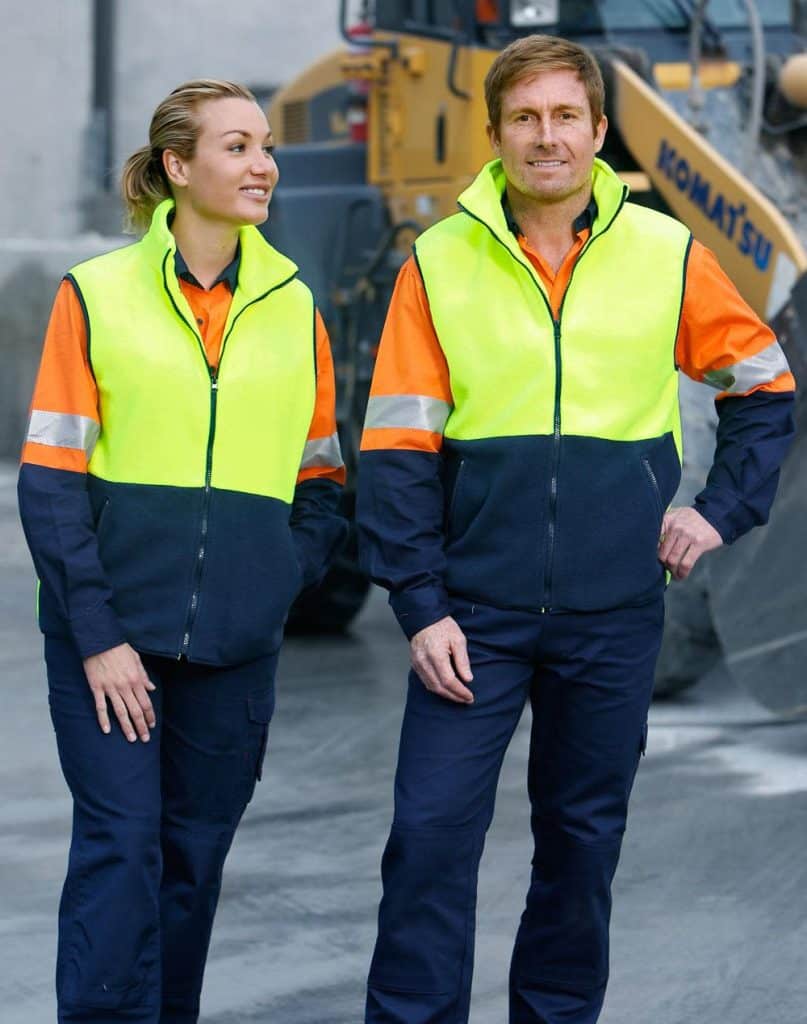
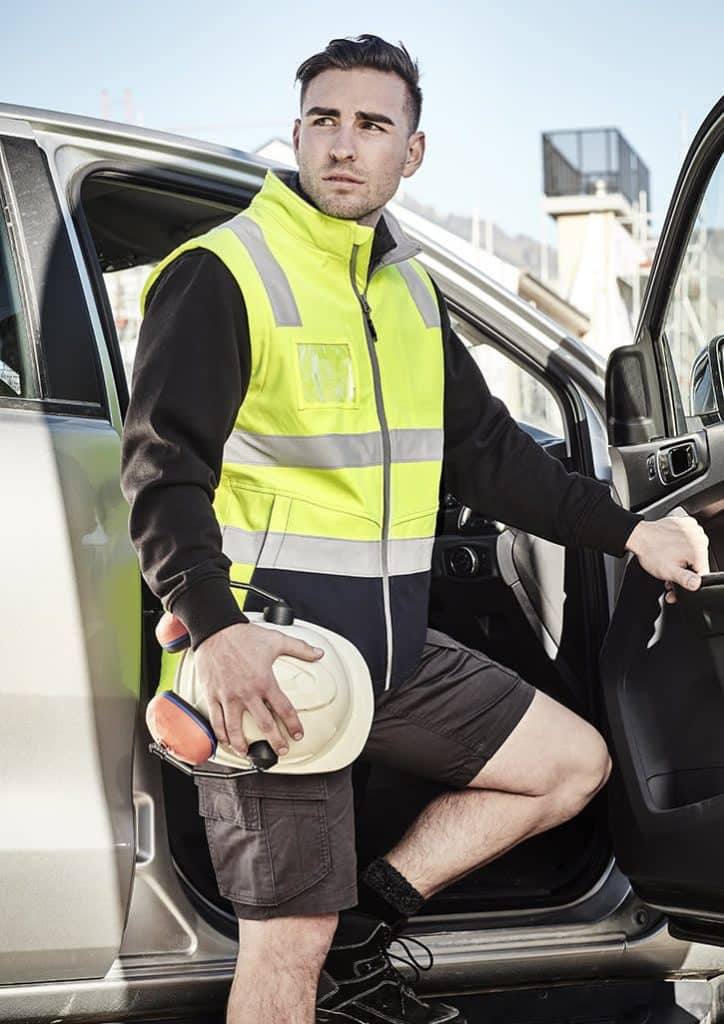
Outer layers earn their keep in the rain and wind. Softshell jackets repel showers and take left-chest embroidery or a DTF badge nicely. Puffers deliver warmth without bulk. If your crews work near traffic or plant, add hi-vis vests over mid layers to maintain warmth and visibility.
Match branding method to the material
- Embroidery: Best on polos, softshells and heavier fleeces with simple marks. It looks professional and wears well over time.
- DTF / transfers: Ideal for multicolour art, small type and gradients. Great on hoodies, jackets and caps where embroidery would get bulky.
- Print placement: Keep logos clear of seams, pockets and zip lines. A tidy winter combo is left chest on the mid or outer layer, and a larger back print for teams that work in busy environments.
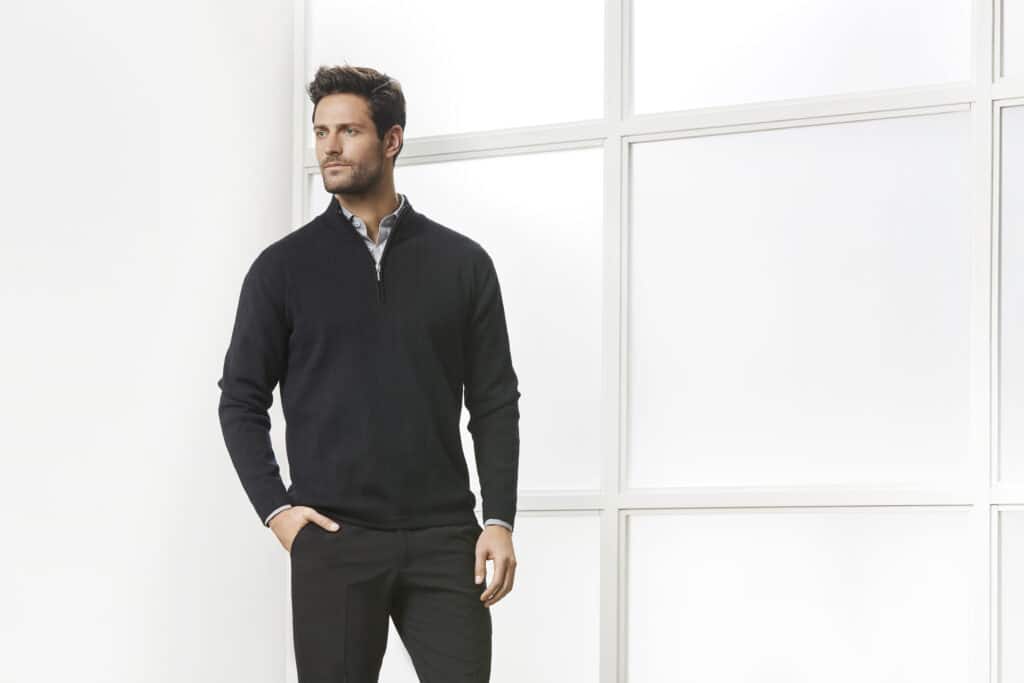
Fabric quick tips
- Polos: Cotton-rich for comfort, performance knits for active roles. Light colours show branding beautifully indoors, dark colours hide marks on site.
- Fleeces and hoodies: Brushed fleece = cosy but fluffy (choose transfers for detail). French terry = smoother surface (embroidery or transfers both work).
- Softshells: Water-repellent and wind-resistant, perfect for deliveries and site visits. Embroidery or DTF patches both look crisp.
Hi-vis and safety basics
If your staff work around vehicles, plant or low-light conditions, hi-vis is part of PPE. Use bright, high-contrast colours and keep branding placements clear of reflective tape so nothing gets obscured. For current guidance on PPE, see Safe Work Australia.
Sizing that works with layers
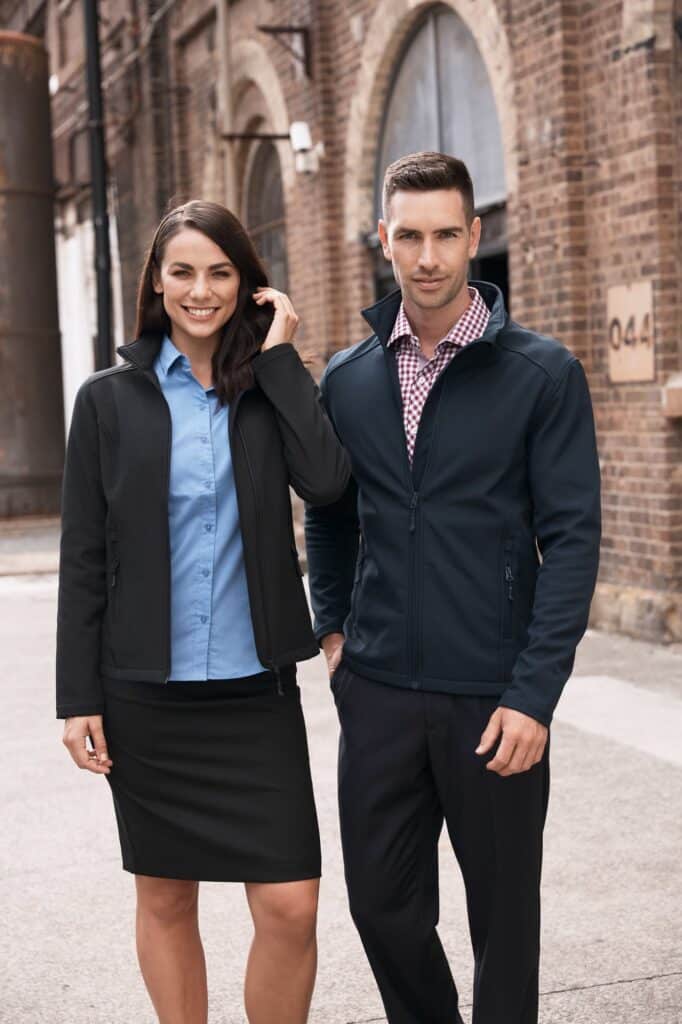
Layers add bulk, which affects fit. As a rule, keep base layers true to size, allow a little room in mid layers, and consider one size up for outer layers on staff who wear multiple garments underneath. Order a few spare vests and jackets per site to cover new starters and seasonal changes.
Care and durability
- Wash inside out on a gentle cycle to reduce abrasion on prints and embroidery.
- Avoid hot tumble drying, which can affect transfers and shrink cotton-rich garments.
- Brief staff to avoid ironing directly over logos.
Winter workwear bundles that make sense
- Warehouse set: Printed polo + fleece hoodie + hi-vis vest. Warm, visible and budget friendly.
- Field service set: Polo + softshell jacket + beanie or cap. Smart enough for customer visits, practical for drizzle.
- Front-of-house set: Polo or knit + lightweight puffer. Polished look with consistent branding across sizes.

Order flow explained
Here is how we keep projects moving without surprises:
- Tell us about the job roles. Share who will wear the gear (warehouse, site, front-of-house) and how the garments are used. This helps us recommend the right fabrics, warmth level and any hi-vis requirements.
- Send your brand files. Provide your vector logo (AI, EPS or print-ready PDF) and PMS colours so we can colour-match accurately. Let us know if you prefer embroidery or print. If you are unsure, we will recommend the best method for each fabric.
- Approve the proof. We send digital mock-ups showing placement and sizing. Once approved, we finalise sizes, lead times and any split deliveries you need across sites. Then production starts and we keep you posted until dispatch.
Ready to build your winter kit?
Start with custom branded shirts, add printed polos for comfort and consistency, and layer with hi-vis vests where safety calls for it. If you want help choosing the best branding combination for your artwork, send us your logo and we will walk you through the options with a fast proof.


